
Study Wall Decor Ideas can give you something nicer to look at when you lift your eyes from your notes. A favorite print, a few postcards, or a shelf with a trailing plant can make a plain desk corner feel more like your space. And if your timetable keeps getting buried under books, there’s room for that on the wall too.
These 34 study room wall decoration ideas include simple arrangements you can start with a few pieces, plus fuller walls for anyone who enjoys collecting pictures and little reminders. Pick the details you like, and leave yourself enough desk space to actually study.
Pair Abstract Art With Box Shelves
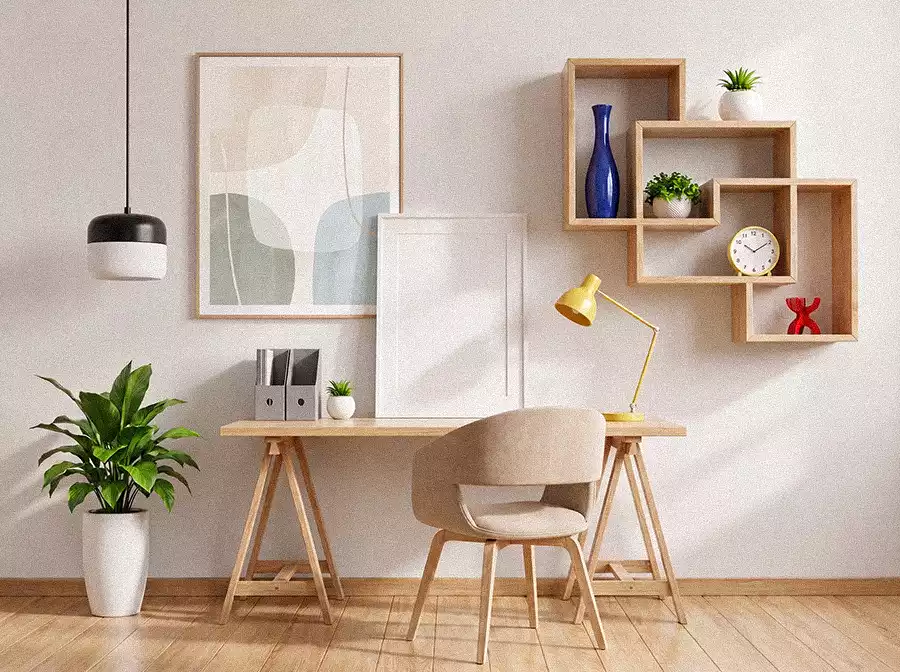
The little red ornament gets a whole cubby to itself, and that feels about right. These connected wooden boxes make room for a few colorful favorites without crowding them together. A blue vase fills one tall opening, while a yellow clock and small plants occupy others.
Over on the left, the larger abstract print stays soft and pale. It’s a pleasing mix of quiet artwork and playful objects, with the light wood desk connecting the two. Choose your main print first if you’re borrowing this layout; then arrange the boxes beside it, leaving some openings lightly filled so you can still see their overlapping shapes.
Build a Wall of Encouragement
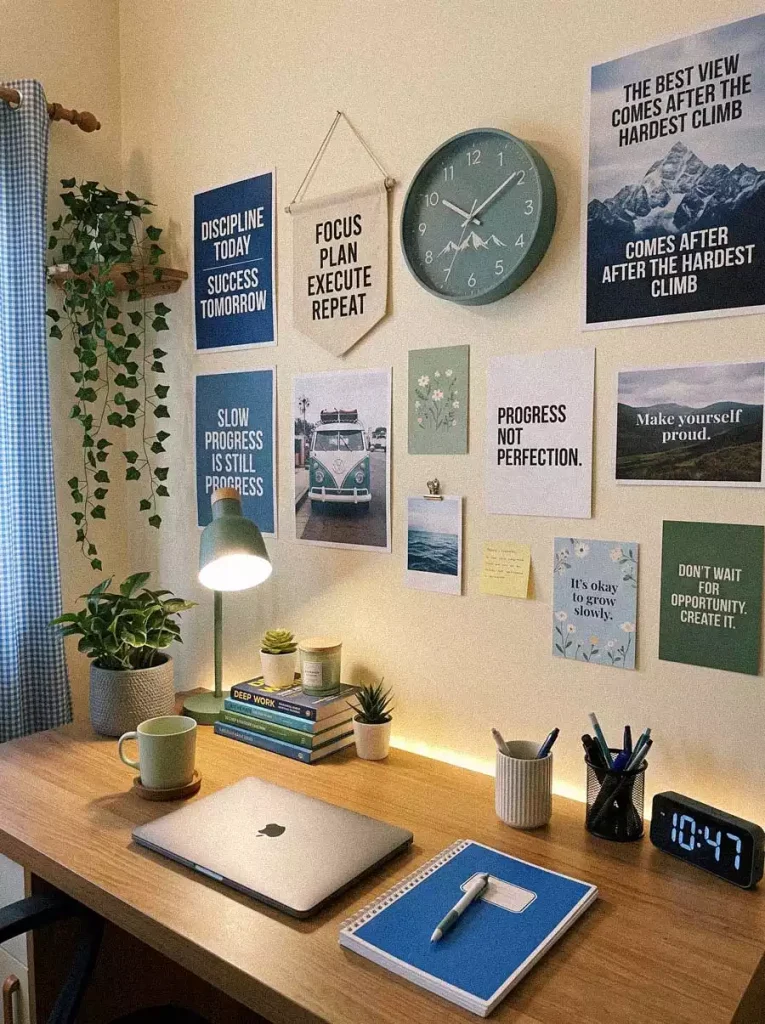
Some days, a little pep talk above the desk is welcome. This collection mixes quote prints with a hanging fabric banner, a round clock, and pictures, all in blues, greens, and cream. The greenery down the left edge keeps the arrangement from becoming one solid patch of lettering.
Pick words you actually like, though. You’ll be looking at them more often than anyone else. A couple of meaningful reminders, a favorite photograph, and space for a changing note can feel more personal than buying an entire matching set of slogans.
Let a Cork Map Take Up Space
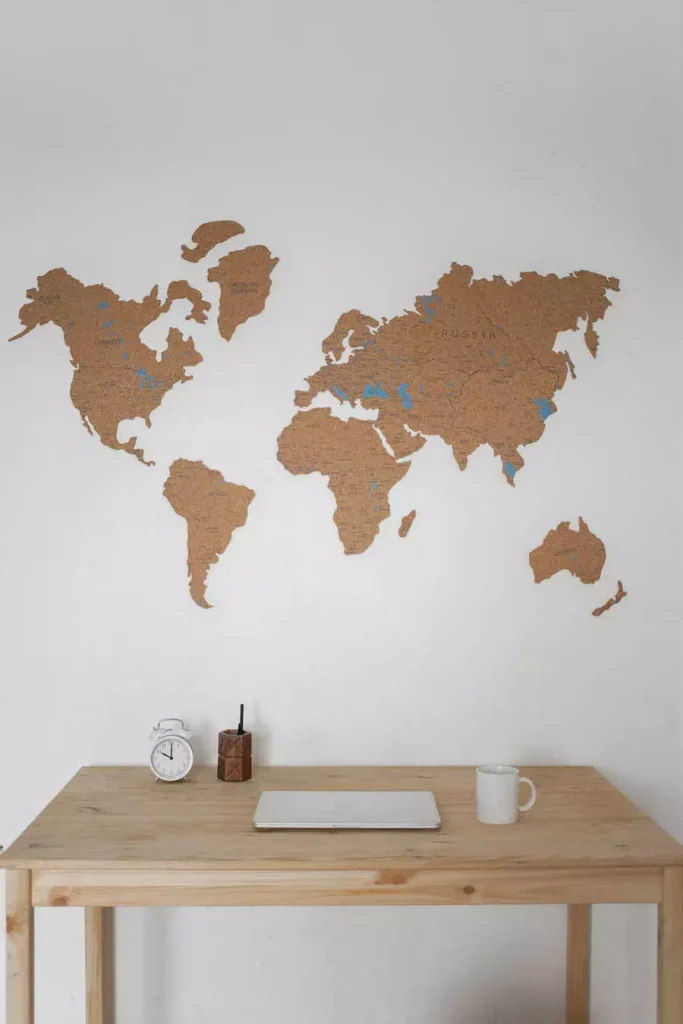
A world map gives your eyes somewhere to wander between pages. Here, the separate cork continents stretch almost across the desk, with a white wall showing through the oceans. The warm brown surface also sits naturally above the pale wooden table. There’s very little competing with it: a small clock, a mug, and a clear work surface keep the outline easy to see. With a piece this wide, it’s worth leaving its edges alone rather than squeezing little pictures into every gap.
Stagger Bookshelves Across Brick
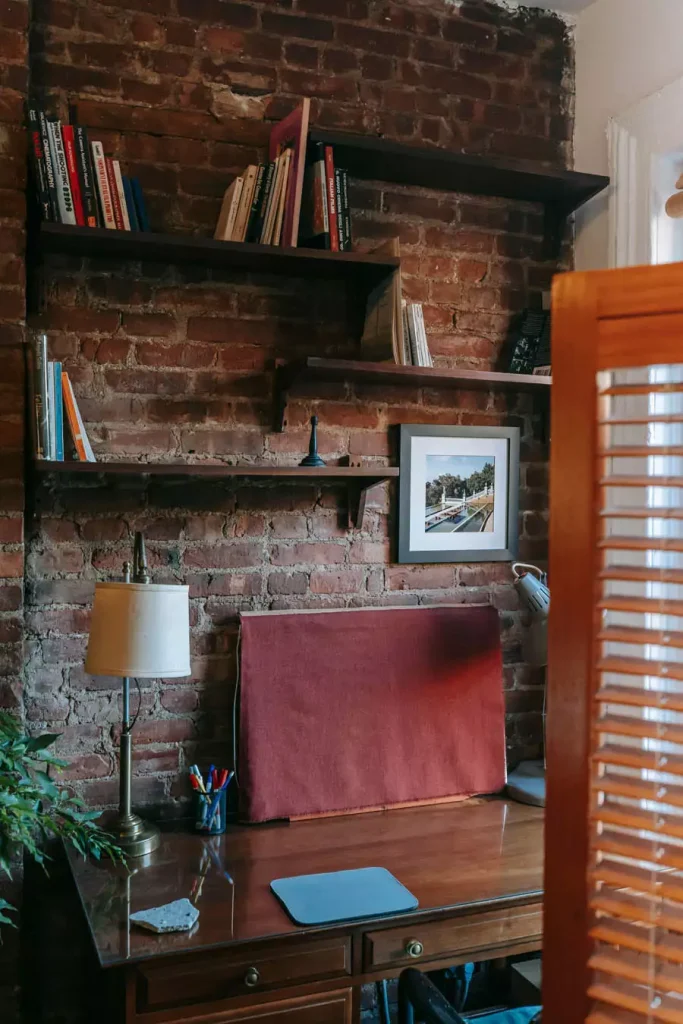
Before choosing where to put a shelf, stand your tallest books beside your smaller ones. That difference in height is a good reason to use an arrangement like this, where dark shelves step across an exposed brick wall instead of sitting in identical rows.
Books gather in loose groups, and a framed photograph occupies a gap on the right. There’s still plenty of brick showing between everything. The rough wall, dark shelving, and wooden writing desk already give this corner a well-used library feel; it doesn’t need a decorative object in every spare inch.
Give a Corkboard Some Breathing Room
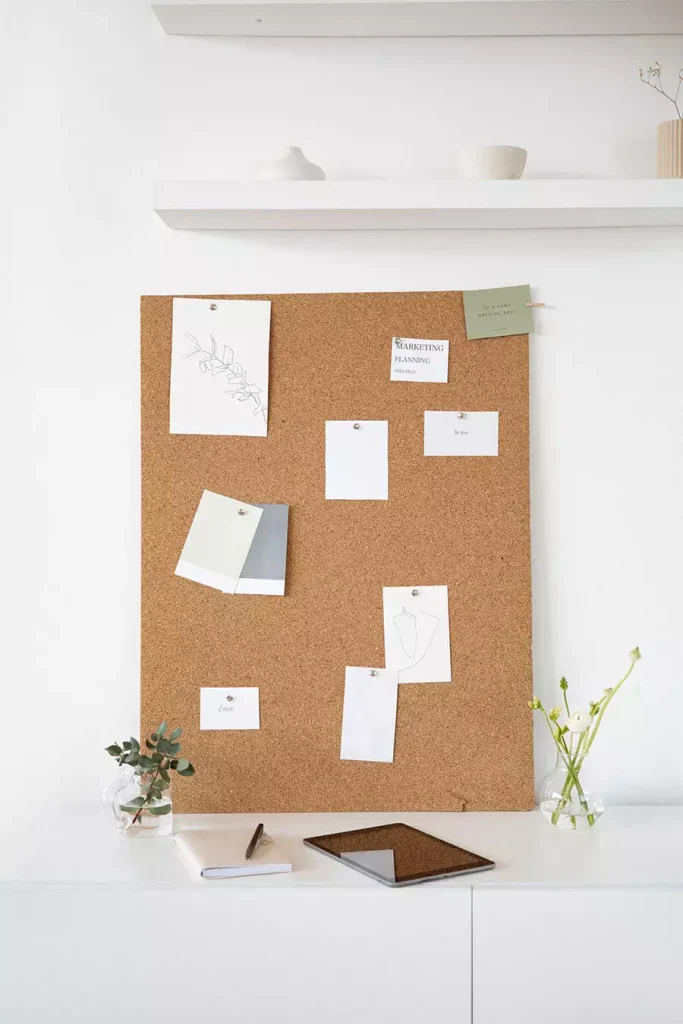
A big corkboard doesn’t have to be full on day one. This one holds a few notes and sketches with broad patches of bare cork between them. The pale papers look especially clear against that warm background, beneath the white floating shelves.
It also sits on a cabinet, which is handy inspiration if the wall above your desk is already spoken for. You could keep longer-term plans here and your immediate reminders closer to your chair.
Let the board fill up as you need it. An empty patch is useful when a new project arrives.
Use Black as a Backdrop for Greenery
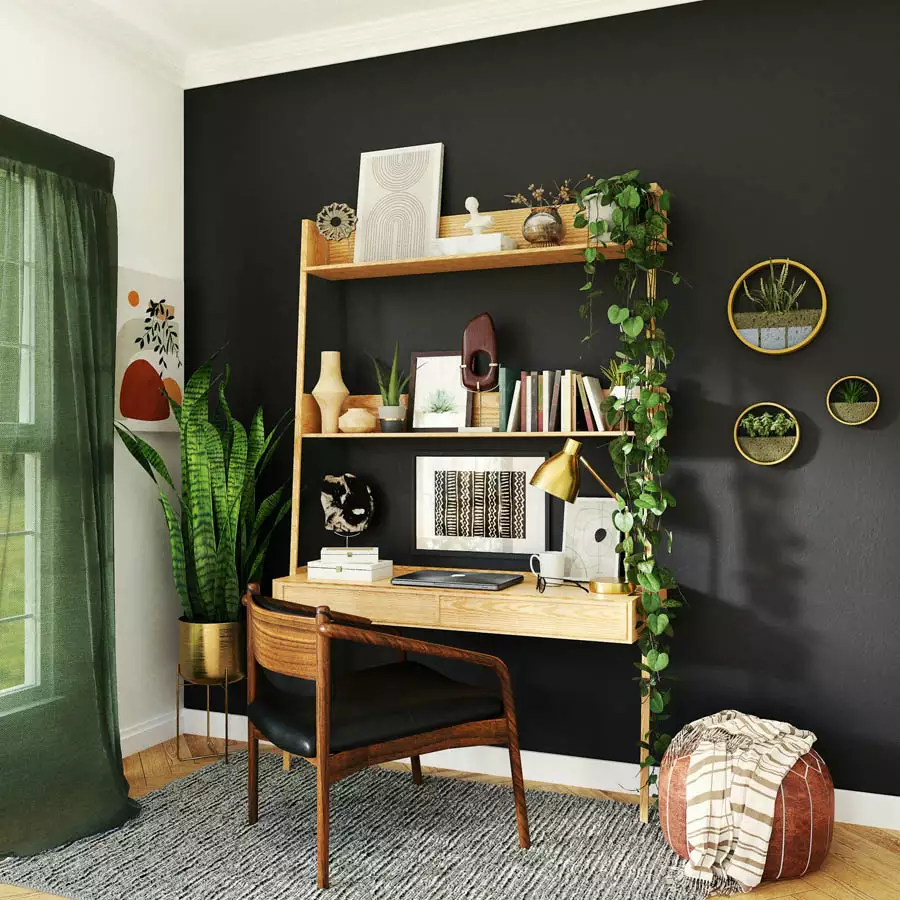
The greenery gets plenty of attention against this black wall. A long vine follows the right side of the wooden shelving, then three round wall planters carry the planting farther across the wall. Books and framed pieces share the shelves, so the desk corner still feels like a place to work.
If this is your kind of study room decor, plan for the plants as well as the pictures. Pots need to be within comfortable reach, and trailing stems need somewhere to go without covering a screen or tangling around a lamp. Here, most of the greenery lives above and beside the desktop, leaving the work area open.
Tape Up a Row of Sketches
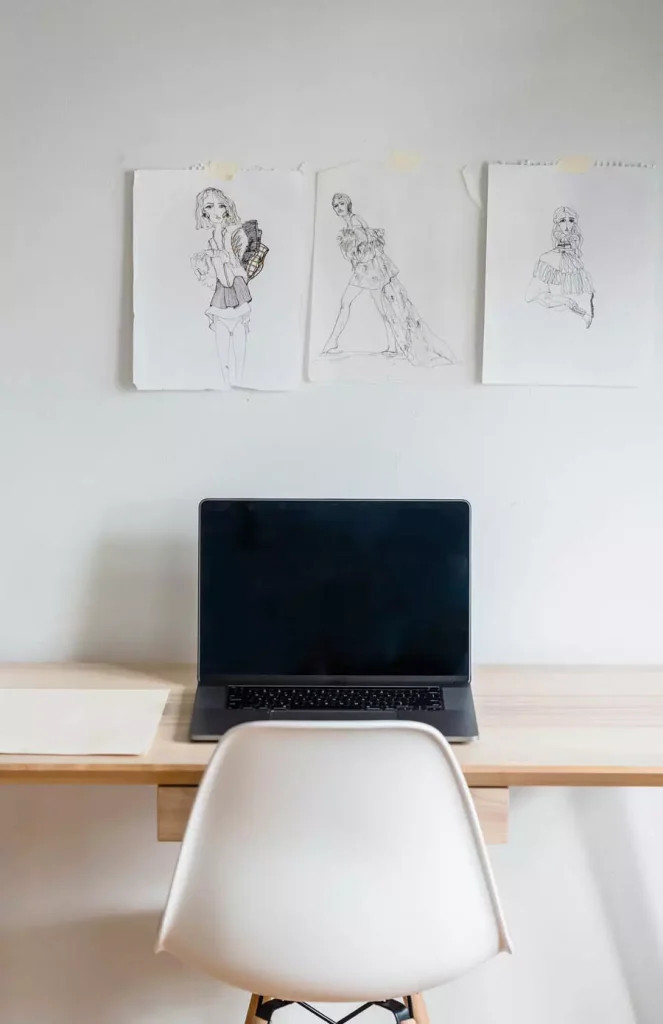
Those drawings tucked into a folder could have a turn on the wall. Three figure sketches sit above this laptop, attached with small pieces of pale tape, and their slightly uneven edges are part of the appeal. The loose row feels relaxed beside the plain desk and white chair. You could try it with your own practice drawings, changing the selection as you make more. They don’t all need to be finished masterpieces to belong in your study corner.
Paint a Corner in Pastel Shapes
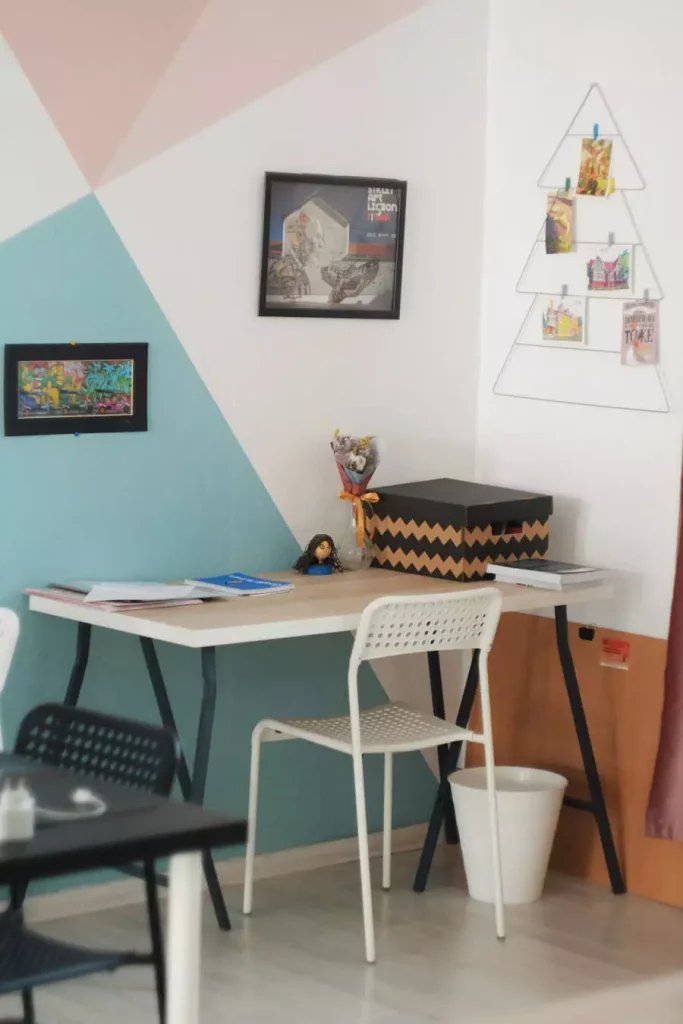
The color travels around this desk: a broad blue section rises from below, meeting pale pink shapes higher up the wall. Two dark frames sit against the painted areas, while a wire display made from stacked triangles holds clipped cards on the neighboring wall.
Before reaching for paint, sketch the shapes with the desk included. Otherwise, the diagonal you spent ages getting straight could end up hidden behind a storage box. The larger blocks here remain visible around the furniture, with smaller pictures layered over them rather than trying to fill every painted section.
Make One Shelf Do the Styling
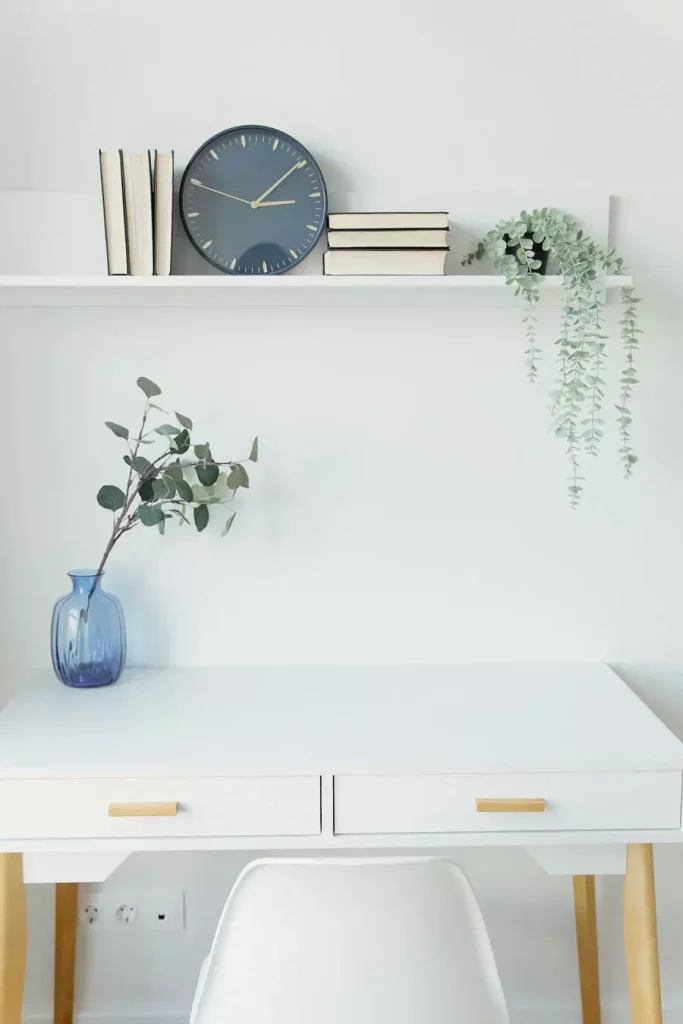
One white shelf holds almost all the decoration this little corner needs. Upright books sit beside a dark clock, another stack lies flat, and pale greenery drops over the far end. You could make a similar arrangement with books you already have, turning a few sideways to change the heights. Below, a blue vase brings color to the white desk without taking over the surface. There’s room for the open notebook, the laptop, and the inevitable extra sheet of paper.
Keep a Collage Small on Textured Walls

There’s no rule that a collage has to stretch from one end of the desk to the other. This small group of portraits, pale images, and graphic prints occupies only a patch of the white brick wall. Little pieces of visible tape suit the informal arrangement, and the rough brick remains a big part of what you see.
Try a compact group first and look at it from your chair. You might find that the wall already feels finished, even with all that space around it.
Turn Plant Shelves Into Wall Shapes
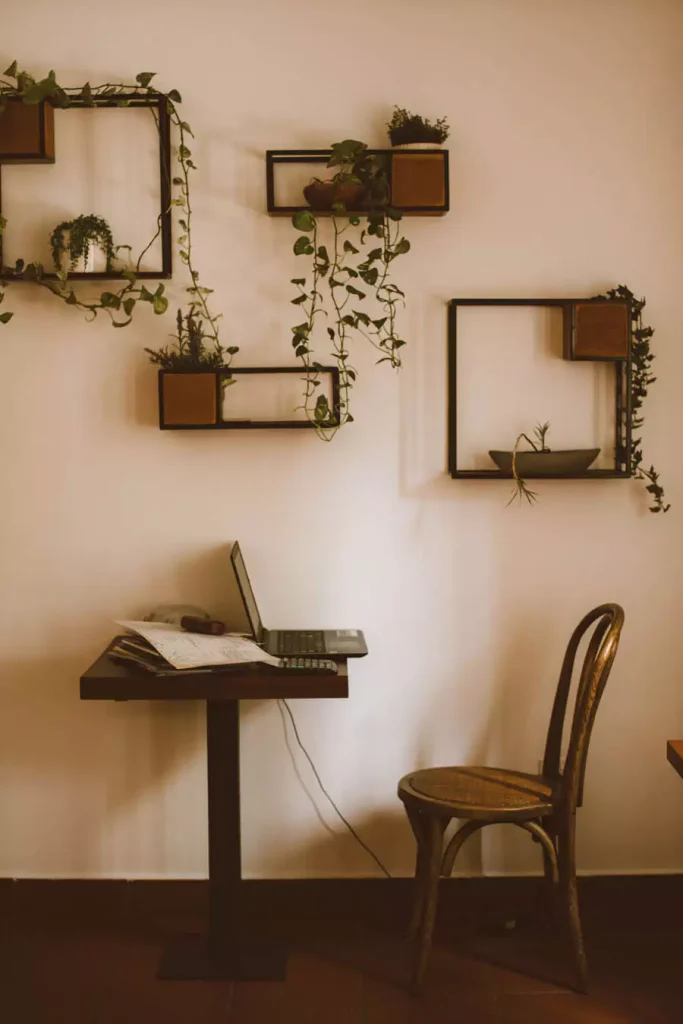
The open centers make these shelves interesting before you even get to the plants. Tall and wide rectangles sit at different heights, with the pale wall showing through their dark outlines. Small planters occupy parts of the frames, and trailing stems weave between the otherwise quite orderly shapes.
Leave space for that growth when deciding where each shelf goes. A vine falling beside a lower frame will be easier to see than one dropping straight into the next pot. The little desk underneath is already busy with a laptop and papers, so letting the plants spread across the wall makes sense.
Build a Botanical Gallery Around a Screen

Keep the computer in place while planning this one. The gallery’s lower edge steps around the screen, and a few pictures would disappear if they were hung much farther down. Paper templates are useful for checking the view from your chair before making any holes.
Within the gallery, black frames bring together leaves, a butterfly, a map, and lettering. Larger green prints sit toward the outside, with small pictures filling the spaces between them. It’s a fairly full study desk wall decor arrangement, but the repeated frame color gives your eye an easy way to follow it.
Try a White Clock on a White Wall
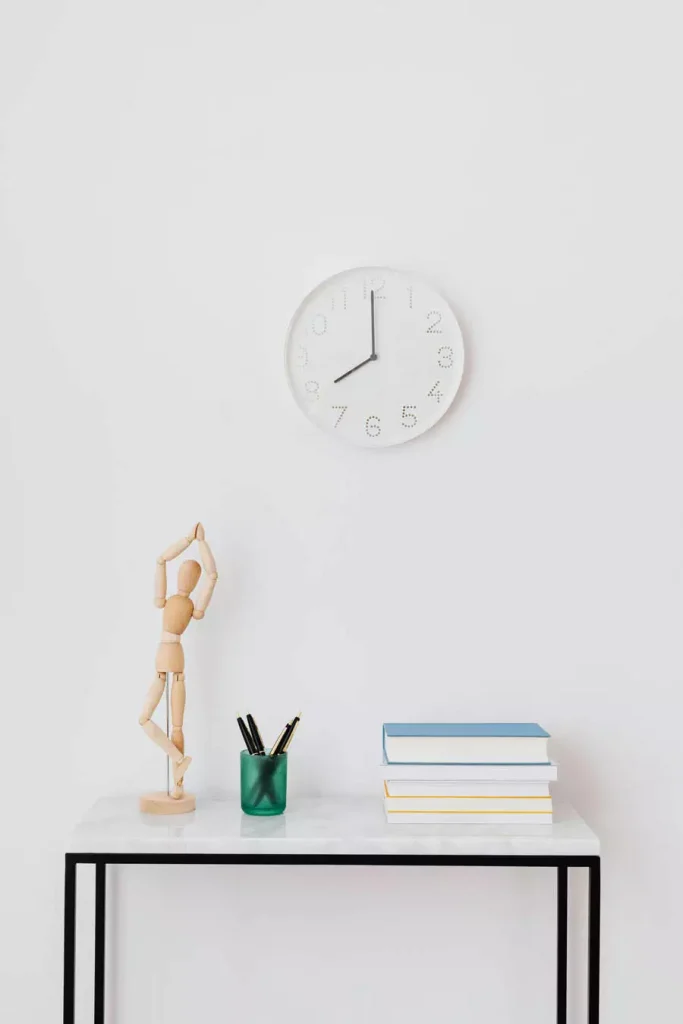
Even the clock keeps a low profile here. Its white face almost disappears against the wall, leaving the dark hands as the clearest detail. Below it, a wooden artist mannequin strikes a pose beside a short stack of books. This is minimalist study wall decor with very little to arrange: one clock, a few desk essentials, and plenty of plain wall. If you enjoy a quieter view while working, there’s no need to add another print just because the space is available.
Stretch a Memo Grid Across the Desk
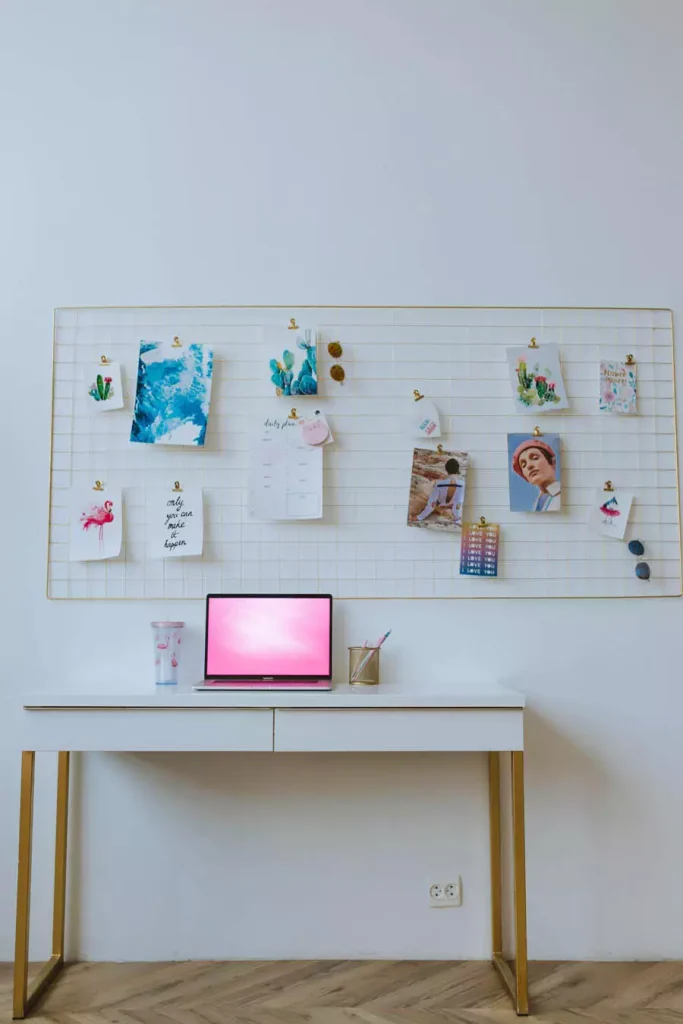
A calendar can sit beside a holiday photo. They don’t have to be on separate boards. This wide wire grid makes room for both, along with illustrated cards and little clips, while keeping large areas of mesh open.
The thin gold-colored lines pick up the desk legs below, which makes the grid feel like part of the setup. You could keep dates and current reminders near the center, then move your pictures around the edges whenever you fancy a change. Nothing needs a permanent place.
Frame a Desk With Olive Green Paint
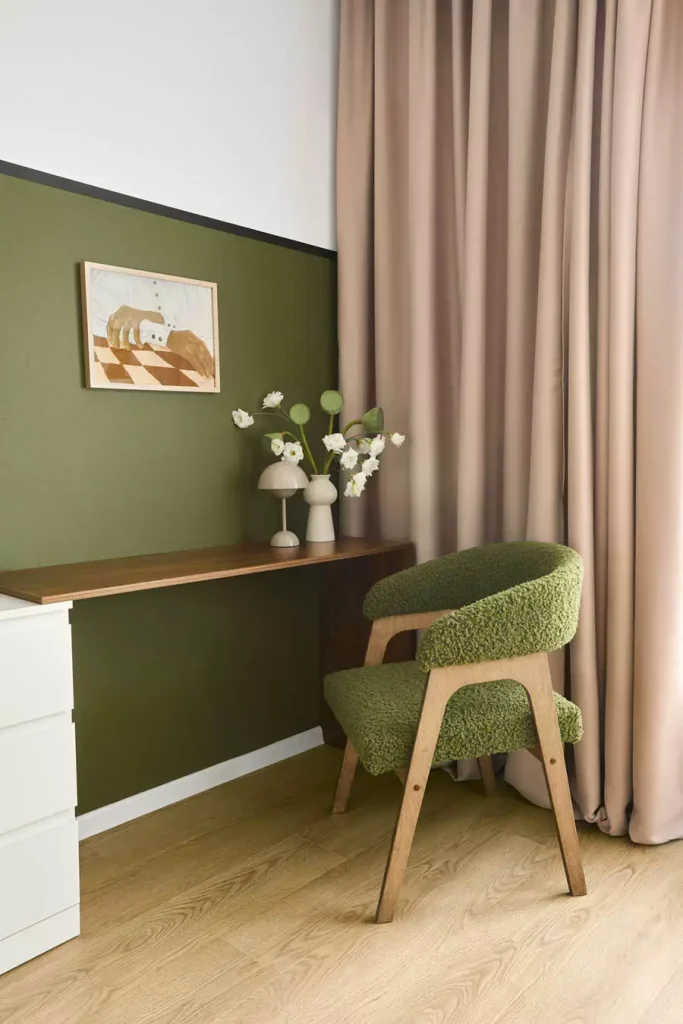
Only one small picture hangs over this desk, and it has a lovely stretch of olive green all to itself. A dark border separates the painted section from the white wall above, while the green upholstered chair repeats the color below. The long pink-beige curtain makes the corner feel softer. So much of the decorating is already happening through those larger surfaces that a busy gallery would change the mood completely. This is a good one to borrow when you’d rather choose a paint color than spend a weekend arranging frames.
Layer Pictures Over Patterned Wallpaper
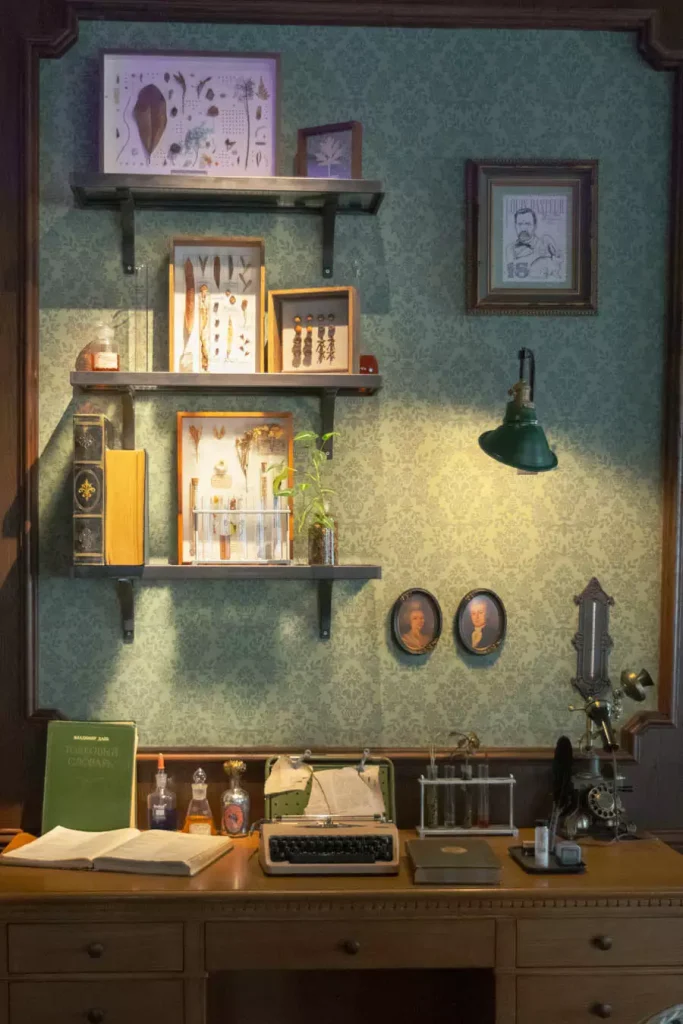
Patterned wallpaper, tiny portraits, illustrations, and a typewriter: this corner has a taste for the dramatic. The green wall sits inside dark trim, with most of the shelves gathered on the left. On the right, there’s space for the wall lamp, a larger portrait, and two small oval frames.
The details are plentiful, but you can still see the wallpaper. Start with a few frames against your chosen pattern and check whether the images remain clear. Here, pale picture backgrounds and dark edges help the smaller pieces hold their own. The oval portraits are a particularly nice change among all the rectangles.
Make Room for a Reference Map
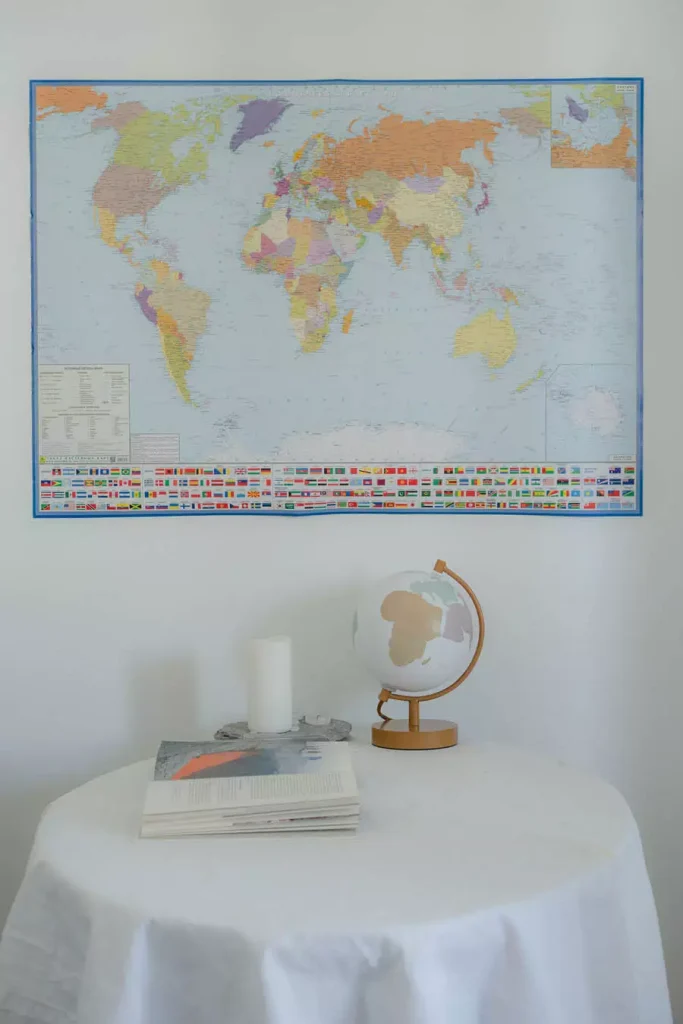
For anyone who enjoys poring over a map, this little corner gives it a proper place. The large poster hangs above a cloth-covered round table, with a small globe beneath it and rows of flags running along its lower edge. It’s a reference spot you could set beside a study desk rather than a complete workstation. If you’d like to use the map as well as look at it, check the labels at your intended viewing distance before deciding how high to hang it.
Put Stationery on a Pegboard

Give your most-used pens and tools the easy-to-reach spots first. Once those have a home, there’s room to play with the rest of a pegboard display. This one mixes stationery, tape rolls, containers, and headphones with little decorative pieces across white and dark panels.
The blue-framed print and teal clock above continue the color beyond the storage. It feels like a desk belonging to someone who enjoys their supplies, with the bright pens becoming part of the decoration. You can still make space for a favorite picture without sacrificing the spot where your scissors need to go.
Let Pendant Light Pattern the Wall
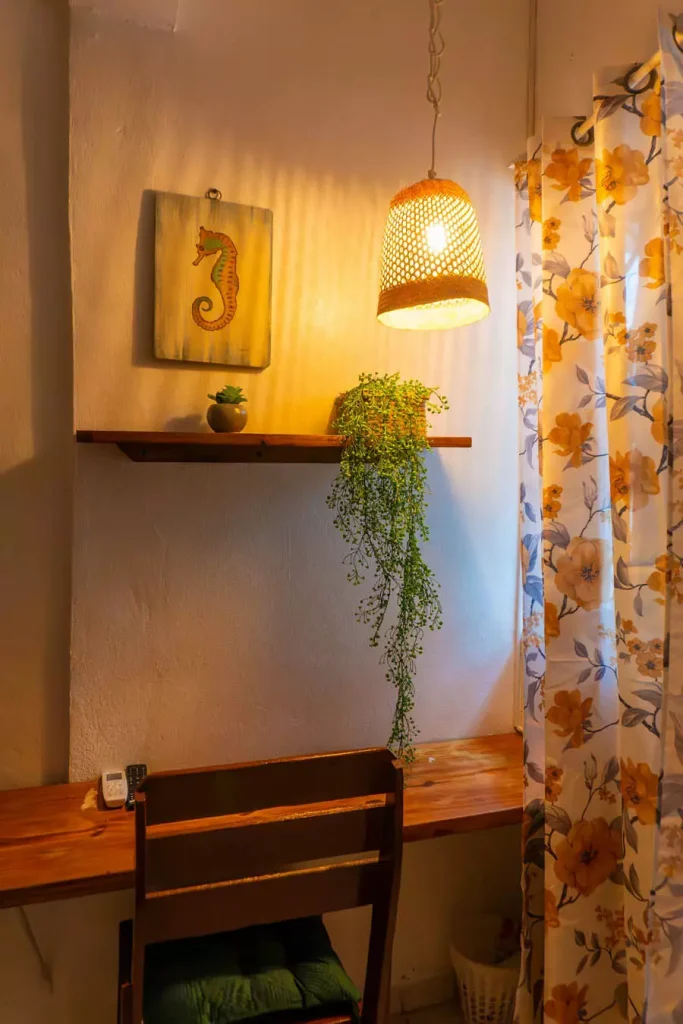
The warm pendant light is doing some of the decorating here. It shines through the woven shade and spreads a pattern beside the little seahorse picture, giving a plain wall more to look at. Below, a wooden shelf holds two plants, with one trailing nearly to the desk. Yellow flowers on the curtain continue the warm color across the corner. The picture and shelf are simple enough that you notice the light, the leaves, and the wall between them.
Choose a Pinboard With Color
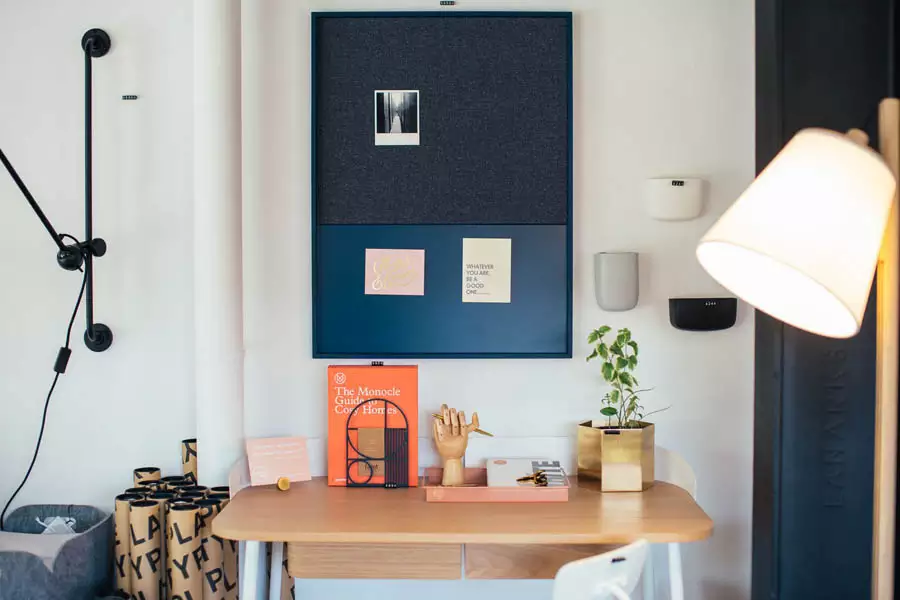
Would you still like your noticeboard if you took all the notes off it? That’s a useful question for a setup like this. The tall blue board is a strong piece on its own, with a dark textured upper section and a smoother blue panel below.
One photograph and two cards leave most of it visible. You can keep a board this spare by pinning only what matters right now, rather than letting every old reminder retire on the wall. The color does the rest.
Use the Wall Beside a Window Desk

A desk facing a window doesn’t leave much room for art straight ahead. Here, the pictures move to the neighboring wall: two frames sit one above the other near the corner, while a recessed display area occupies the wider section over the low bookcase. The books fill the lower part of the wall, and the desk keeps its view through the windows. It’s an arrangement worth considering before trying to squeeze a shelf across the glass.
Give Sticky Notes Their Own Patch
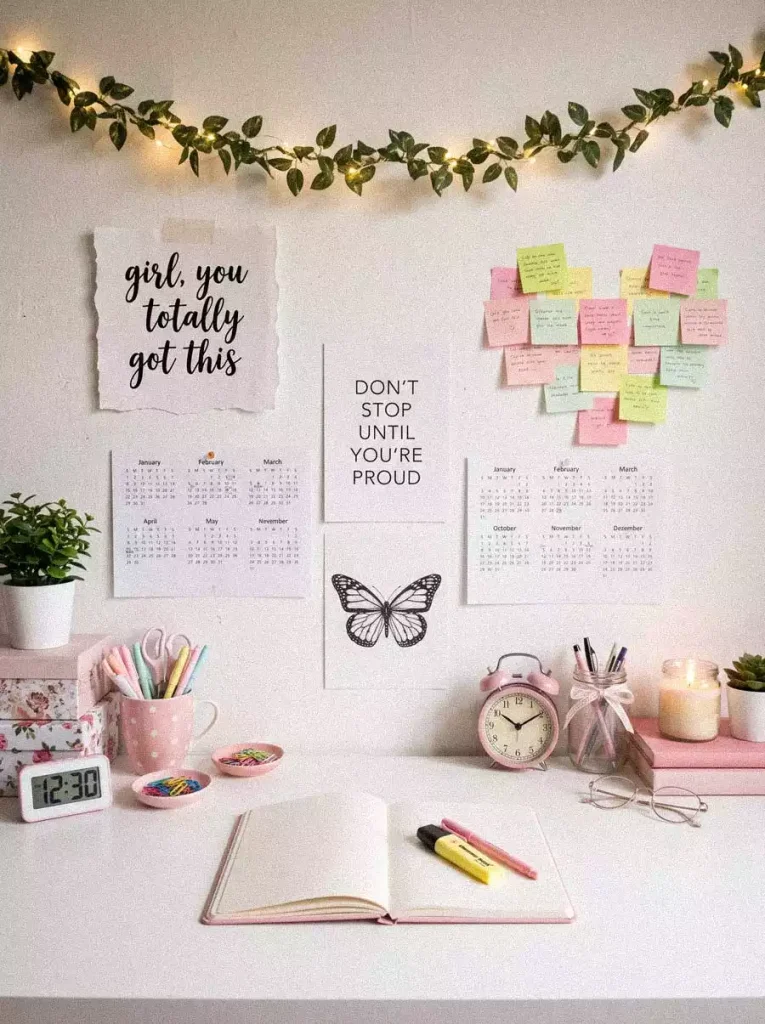
The sticky notes have a little territory of their own in this pink-and-white study concept. Their yellow, green, and pink squares cluster in the upper right, separate from the larger quote prints, calendar sheets, and butterfly illustration. A leafy garland with small lights curves across the top.
You could use that same patch for one assignment, a week’s reminders, or the things you keep forgetting to ask. Clear it when the task is done so the notes don’t gradually swallow the rest of the display.
The butterfly and favorite prints can stay. They haven’t missed a deadline.
Set a Picture Ledge Below a Large Clock
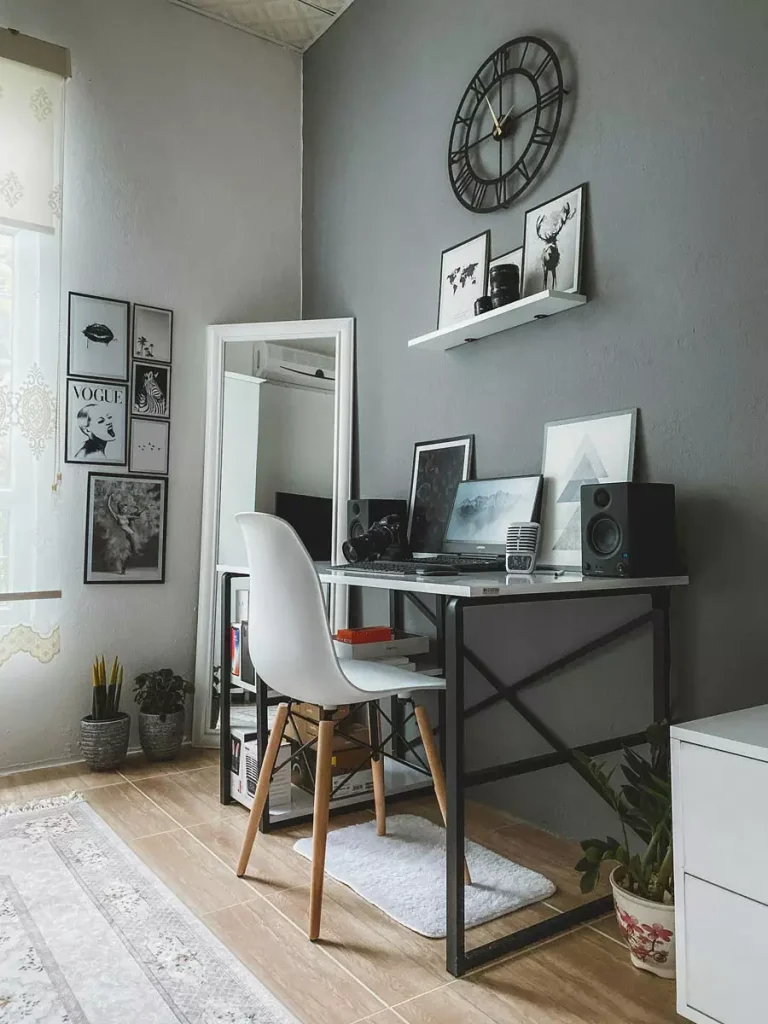
A big open-face clock sits high on this gray wall, with a much shorter white picture ledge below. The black-and-white images lean along the ledge, echoing the clock’s dark outline. The white chair and tall mirror frame keep that same small set of colors going through the corner.
The ledge is the part to borrow if you often change your mind about pictures. Set your tallest frame on it before placing the clock, so the gap works with the actual display. After that, swapping a print is a smaller job than rehanging a whole gallery.
Collect Memories Around a City Map
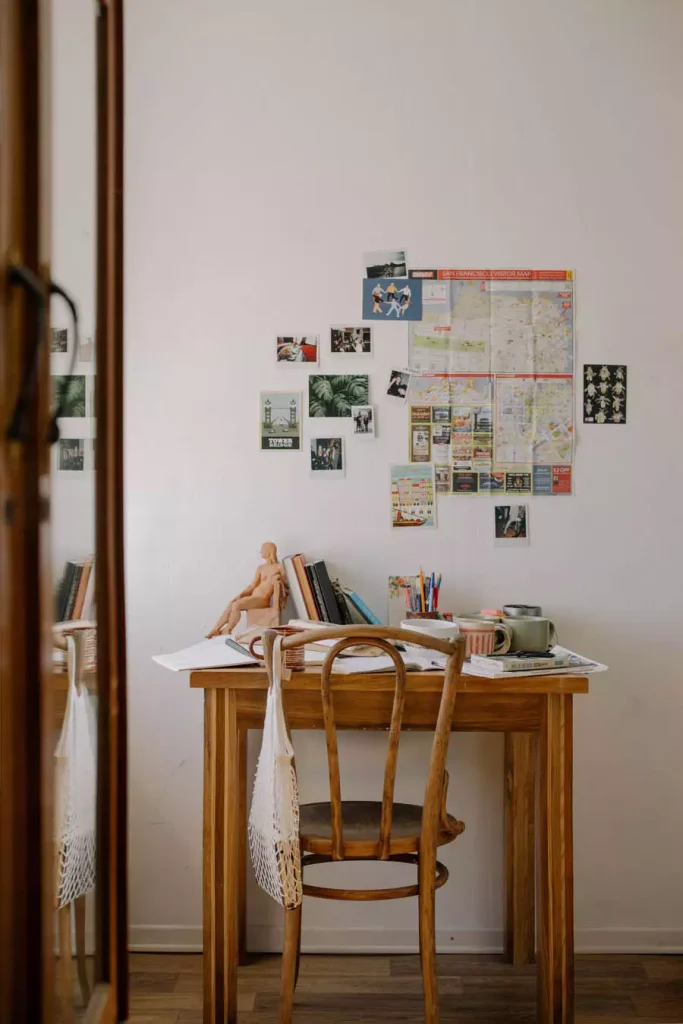
A map from a place you know can be a good starting point for a personal wall. Here, a city map sits among small photographs, postcards, and illustrated pieces above a wooden desk. The group stays fairly compact, leaving plenty of pale wall around it. A hometown map or one from a memorable trip could give you a similar starting point, with a few related pictures added nearby. The pieces don’t need to match; having a reason to keep them together is enough.
Make a Wall Organizer the Brightest Piece
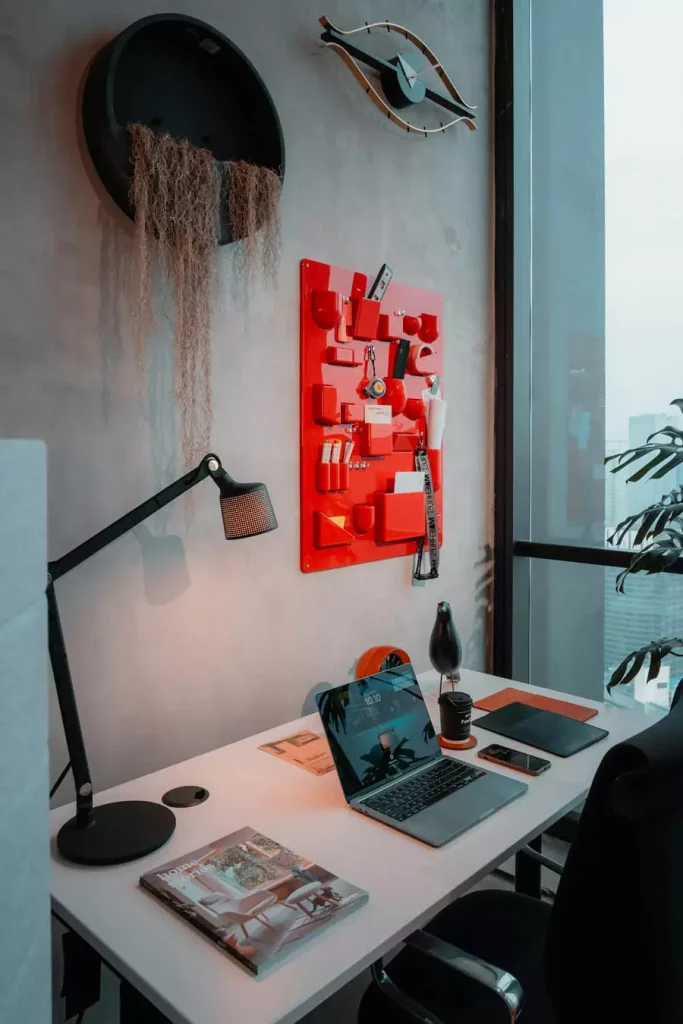
Red is hard to overlook in this otherwise muted workspace. The wall organizer’s little compartments and holders turn the stationery storage into the most colorful part of the room. It’s practical, but it certainly isn’t shy.
Higher up, a round dark decoration with hanging strands and an eye-shaped ornament gives the wall two very different outlines. You could borrow just the red organizer if you prefer a simpler setup. Choose its position around the items you’ll reach for, and let nearby decorations leave enough space for those compartments to remain useful.
Arrange Five Prints as One Group

Lay the frames on the floor before trying this arrangement. Start with the two larger pieces, then shuffle the smaller ones around them until the gaps feel comfortable. It’s much easier to change your mind there.
In this gallery, a large quote print sits on the left, a tall print occupies the upper right, and three smaller pieces connect the group. Mostly dark frames and pale backgrounds suit the black desk and chair below. The little botanical illustration in the middle gives your eye a break from all the lettering.
Carry Shelf Styling Into a Reading Corner
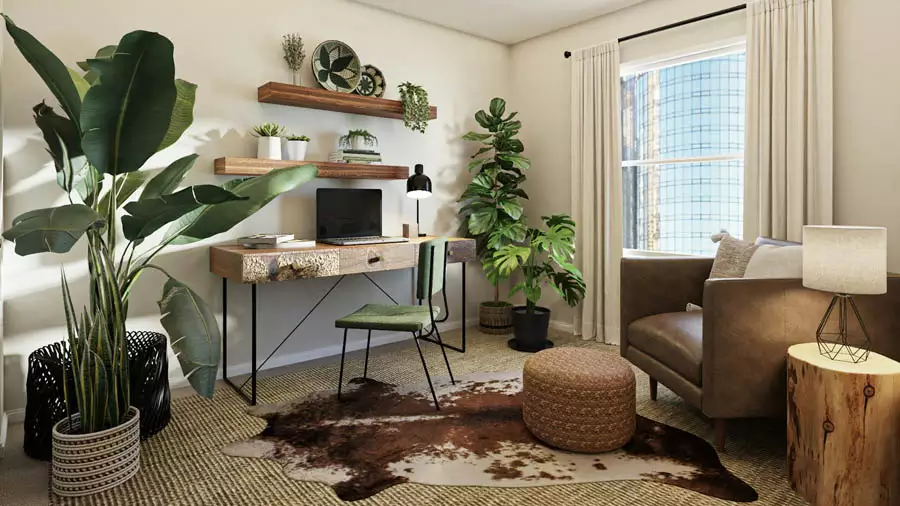
The armchair beside this desk looks like a good place to take the next chapter. Above the work surface, two thick wooden shelves hold small plants, books, and round decorations; more greenery fills the room around them. The desk belongs to the same warm, leafy space as the chair and woven footstool.
Floating shelves above study desk areas can help connect a workspace to the rest of a room. Repeat a material or color already nearby, as the wood and green do here. You don’t have to buy a separate set of decorations just because one corner is where the studying happens.
Let Working Notes Become the Display

Some walls are allowed to look like there’s a project underway. Loose pages gather beneath the rectangular clock here, with handwritten notes, sketches, creases, and the occasional colored sheet. The bookcase on the left and small desk on the right leave a stretch of wall for the paper collection.
To adapt it for your own work, keep related pages near each other and remove the ones you’ve finished with. Leave gaps between topics so you can find a note without scanning the entire wall. A perfectly straight grid is optional; being able to find Tuesday’s work is more useful.
Leave Space Between a Print and a Map

You can stop at two pictures. This small framed print sits above the green desk lamp, while the pale map hangs farther right, across a change in the wall’s depth. The broad gap gives both pieces their own space and leaves the rough wooden desk noticeable below. If your wall has a projection or an awkward break, try treating the sections separately. Forcing everything into one centered arrangement can be more trouble than it’s worth.
Outline a Corkboard With Warm Lights
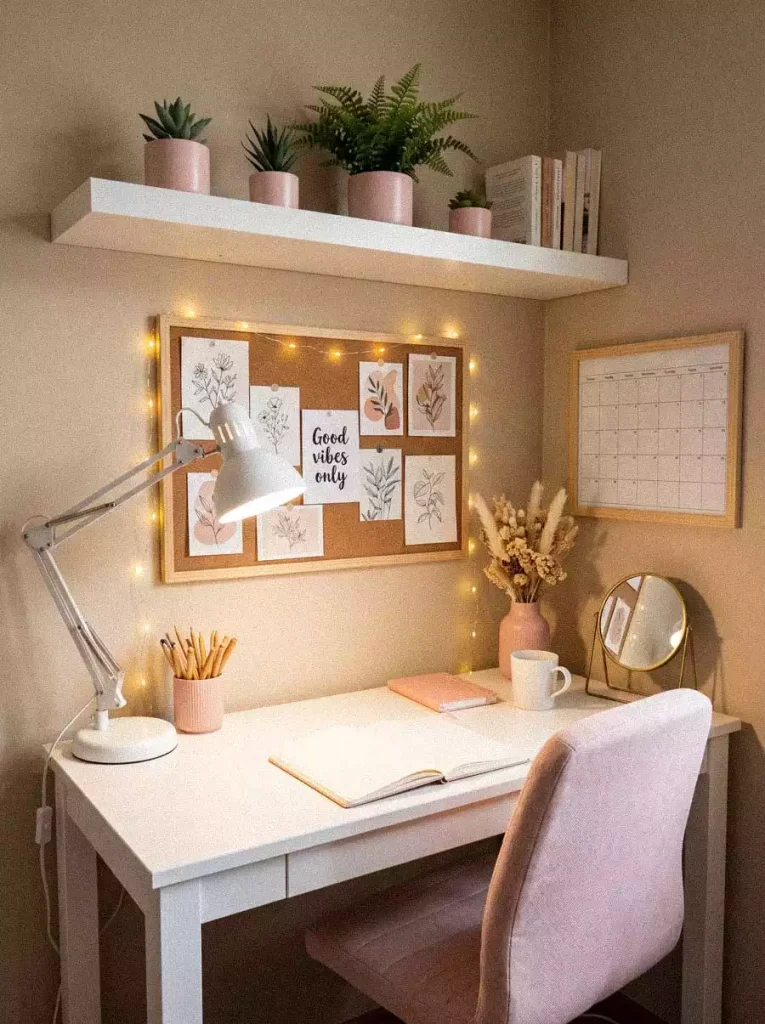
The little lights around this corkboard give its botanical cards a soft glow. Pink pots on the shelf, a pale upholstered chair, and a white desk carry the gentle colors through the rest of the study concept. The adjustable lamp still has its own job over the open notebook.
There’s a useful bit of organization tucked into the styling: the calendar has a separate frame on the side wall. That means the corkboard can hold favorite pictures and occasional reminders without hiding the dates. Keep the part you need to check every day easy to spot, even when you’re tempted to add one more lovely card.
Borrow Color From a Geometric Partition
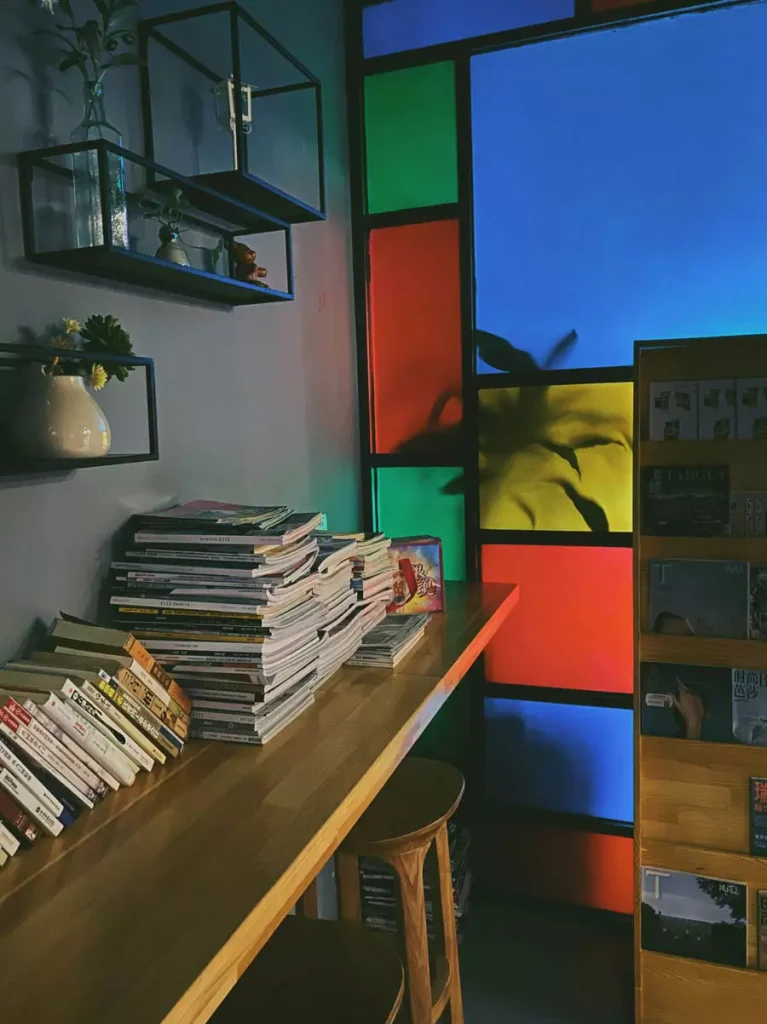
This corner makes room for a lot of color. Blue, green, orange, and yellow panels fill the partition at the end of the worktop, divided by thick dark lines. The open box shelves nearby repeat those rectangles on a smaller scale, above piles of books and magazines. A full partition is quite a commitment, but a painted panel or large geometric print could bring a little of the same character to your desk. Pick the part of the palette you enjoy most; you don’t need every color to borrow the idea.
Mix Botanical Cards With Book Pages
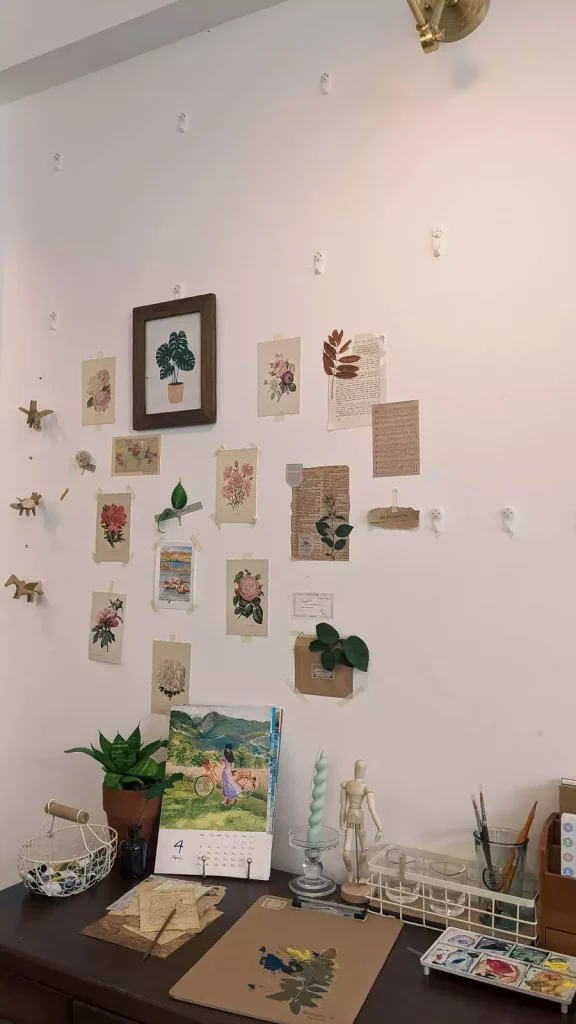
There’s something pleasing about a wall that gives a little floral card as much attention as a framed print. Here, a framed leaf picture shares the pale pink wall with flower illustrations, printed pages, and small paper decorations. Some pieces sit close together; others have a patch of wall to themselves.
The cream papers and muted flowers keep the collection related without making it look identical. Gather a few pieces in colors you like, then let the arrangement grow slowly. A card that catches your eye later can find a place without needing to belong to a matching set.
Edge a Memo Grid With Greenery
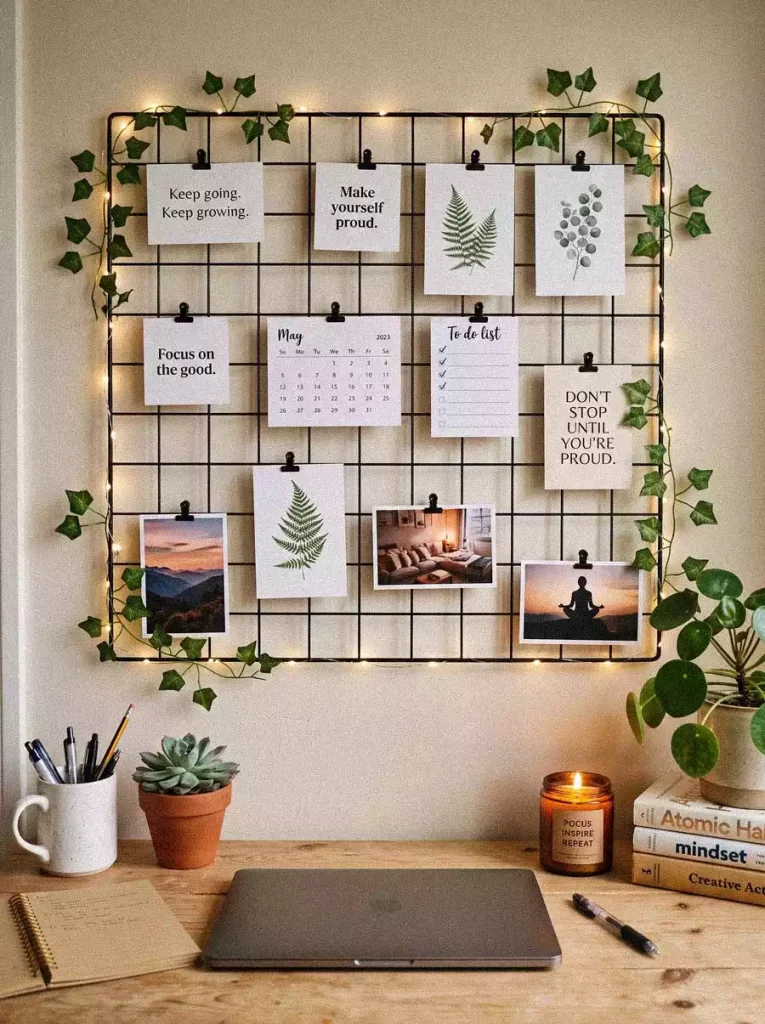
Keep the leaves around the edges if you want the clips to stay easy to reach. That’s the useful detail in this study concept: greenery and warm string lights follow the black grid’s perimeter, leaving the center for quotes, botanical prints, photographs, a calendar, and a to-do list.
The grid lines help arrange the different paper sizes, while matching black clips keep the fastenings discreet. There’s a lot happening, but the calendar and list still have clear spaces of their own. You could change those working pages while leaving the pictures and leafy border in place.
Mix Small Art With a Working Memo Grid
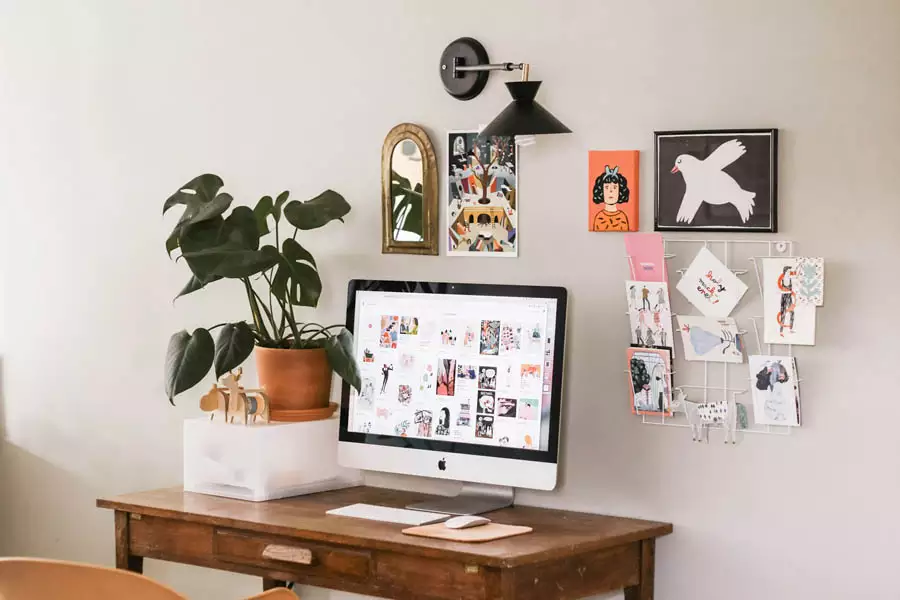
An arched mirror, small artworks, and a wire grid spread around the computer in this final setup. The black wall lamp sits above them, while the large plant on the left adds height beside the screen. The pieces don’t form one tidy rectangle, which suits their different shapes.
Some favorites have a settled spot on the wall; others are clipped to the grid where they can move. It’s a forgiving way to keep collecting. When another postcard turns up, you have somewhere to put it without taking down half the display.
Try It From Your Chair
Sit at your desk before deciding what goes where. Can you read the reminder? Does your screen hide the picture? Is that shelf close enough to reach without getting up every time? Start with the piece you’d most enjoy or use, and give it a few study sessions before adding more. Your wall can grow with you; it doesn’t need to be finished before your next assignment is.